

The secret to really soft, fluffy, melt-in-the-mouth idlis? It starts with the right batter and I’m showing you exactly how in this recipe.
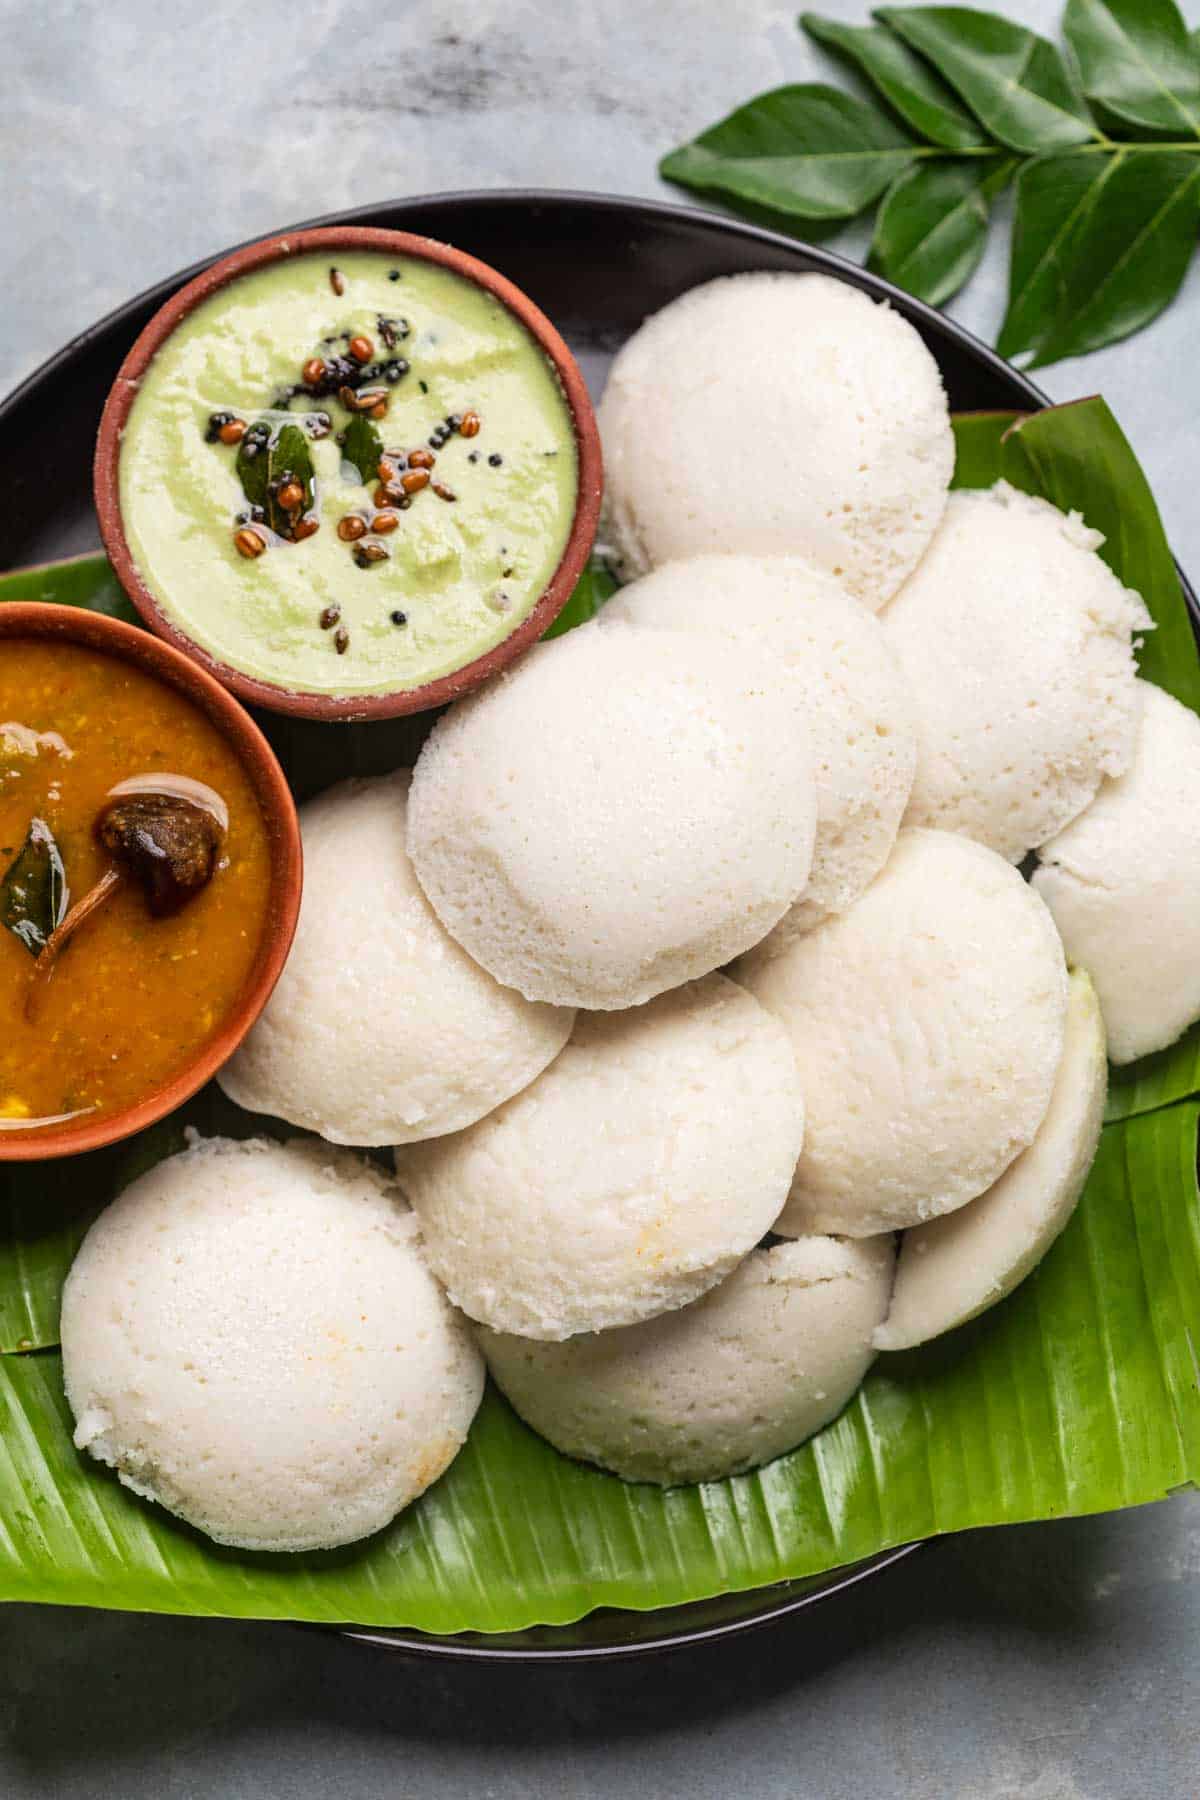
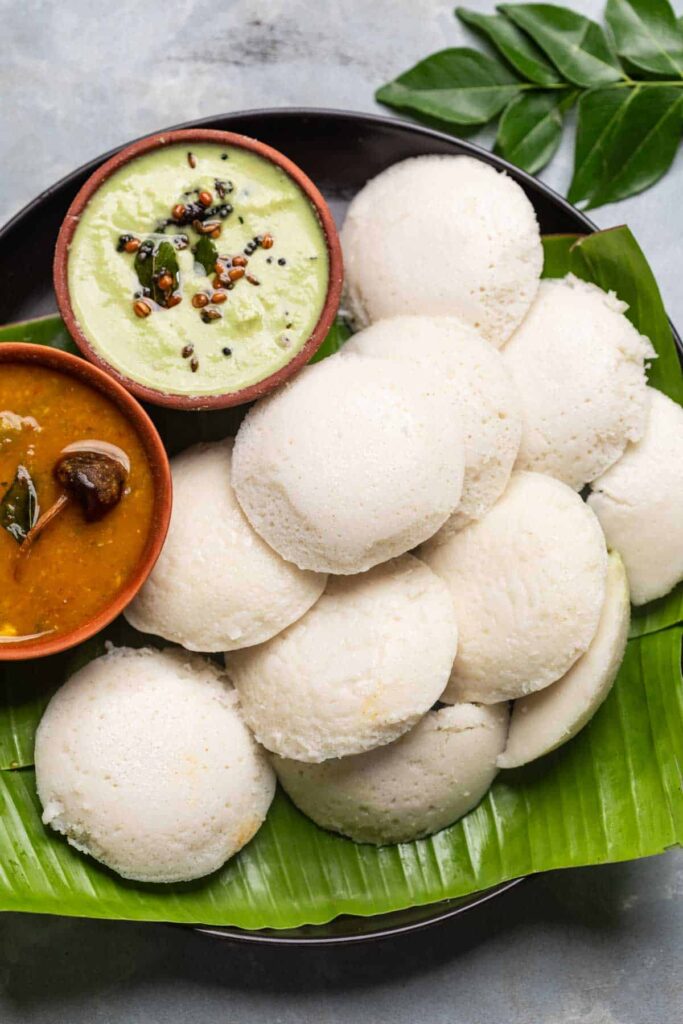
There’s something incredibly comforting about a plate of warm, soft idlis straight from the steamer. They’re light, fluffy, naturally gluten-free, and soak up sambar and chutneys like a dream. Over time, I’ve tried a bunch of methods, but this one has become my go-to because it’s quick and easy.
This recipe uses my homemade idli dosa batter, which is a total game changer. It gives you perfectly soft idlis with a gentle tang and that signature texture we all love. So let’s get started!
Jump to section: Idli Recipe
Idli Ingredients
For the idli batter:
- Idli rice – This is the base of the batter and gives idlis their classic texture.
- Urad dal (skinned black gram) – This adds softness and helps fermentation.
- Poha (flattened rice) – Helps make the idlis extra fluffy.
- Cooked Rice: Added while blending to make the idlis extra soft!
- Fenugreek seeds (methi) – Adds a subtle earthy taste and aids in fermentation.
- Cold water – To prevent the batter from heating up while grinding
- Salt – Added after fermentation to season the batter
For steaming idlis:
- Oil or ghee – For greasing idli molds to prevent sticking.
How to make Idlis
- Make the Batter: Soak idli rice, urad dal, poha, and methi seeds for 8 hours or overnight. Drain the water and discard and grind the rice and dal to a smooth, thick batter using cold water.
- Ferment the Batter: Let the batter sit in a warm spot for 12–24 hours until it rises to 1.5 times and smells lightly sour.
- Steam the Idlis: Pour the fermented batter into greased idli plates and steam for 10 minutes until soft and fluffy.
Richa’s Top Tips For The Softest Idlis
- Fermenting well is everything – A bubbly, slightly tangy batter is what gives you light, fluffy idlis. If the weather’s chilly, leave the batter in a warm spot like inside the oven with just the light on. You can also preheat the oven, turn it off, let it cool down slightly and then place the batter in the oven
- Use cold water while grinding – It helps keep the motor cool and prevents the batter from heating up.
- Grease the idli moulds lightly – Brush the idli moulds with oil or ghee to make it easier to unmould the idlis and it also adds a lovely aroma.
- Don’t over-steam – 10 minutes is usually enough. Overcooking makes them dry and hard.
- Let them rest for a minute – Once steamed, give the idlis a few minutes to cool before scooping them out. They’ll come out cleaner.
Frequently Asked Questions
Idli is a soft, steamed rice cake made from a fermented batter of rice and urad dal. It’s a popular and healthy South Indian dish often served with chutney and sambar.
It all starts with a well-fermented batter. Make sure the batter has a light, airy texture and a slight sour smell before using. Using poha and fenugreek seeds also helps improve the texture.
It should be thick, easily pourable and should fall in ribbons without being too runny.
Fermentation depends on warmth and time. If it’s cold, place the batter in your oven with the light on or in a warm spot. Also ensure your urad dal is not very old.
Short-grain rice like sona masoori can work in a pinch, but idli rice is preferred for its starch content and gives better results in texture and fluffiness.
This is usually because of under-fermented batter or the wrong ratio of rice to dal. Also, make sure not to over-steam the idlis, as that can make them hard and dry.
Thanks to the fermentation process, the batter becomes rich in probiotics and more bioavailable, meaning your body can absorb the nutrients (especially B vitamins and minerals like iron) much more easily.
To ferment in cold climates, pre-heat the oven to 180C for 10 minutes. Turn off the oven, wait for a few minutes to let the temp come down slightly and then place the batter overnight in the oven.
For 10 minutes on high. Place the idli mold in the steamer only once the water comes to a roaring boil. Cover the steamer and start your 10 minute timer. After 10 minutes, turn off the flame, wait for 2 minutes and take the idlis out, let them rest for another 2-3 minutes and then demold them.
Storage Tips
- Fridge: Leftover idlis can be stored in an airtight container in the fridge for up to 3 days. Steam them for a couple of minutes before serving to bring back the softness.
- Freezer: You can freeze steamed idlis! Let them cool completely, then freeze on a tray before transferring to a ziplock bag. To reheat, steam directly from frozen for 5–7 minutes.
- Batter: Idli batter stays well in the fridge for up to 3 days. If it turns too sour, use it to make dosas or uttapams instead.
Serving Ideas
Soft, fluffy idlis are a meal on their own but they shine brightest with classic South Indian sides:
- Pair them with a bowl of piping hot sambar—that soft idli soaking up spicy, tangy broth is unmatched.
- A side of fresh coconut chutney makes every bite creamy and cooling.
- Craving something spicier? Serve with a scoop of tomato chutney for a bold kick.
- For a protein-rich combo, add mixed vegetable korma or even chana dal chutney on the side.
- Leftover idlis? Pan-fry them with a few spices for crispy idli fries, a fun snack twist!
Customisation Ideas
- Rice swaps: No idli rice? You can try using parboiled rice or even regular short-grain rice in a pinch, but the texture might vary slightly.
- Grain-free option: For a more nutritious take, swap some of the rice with millets like ragi or jowar.
- Flavour boosters: Add grated carrot, chopped coriander, or a tadka of mustard seeds and curry leaves to the batter for a twist.
- Mini idlis: Pour the batter into mini idli moulds and serve with sambar for an adorable bite-sized snack or kid-friendly meal.
Did You Know?
The word idli is believed to have originated from the Tamil word “ittu” meaning “to place” and “ali” meaning “to ferment.” While versions of steamed rice cakes existed across Southeast Asia, the idli as we know it today began appearing in South Indian literature as far back as 920 CE! Over a thousand years later, it’s still going strong—soft, humble, and endlessly comforting.
Idlis have this quiet kind of charm, pillowy comfort that never goes out of style. Once you’ve nailed the batter, there’s no looking back. From breakfast staples to lunchbox heroes, they fit in everywhere.
If this is your first time making them at home, I promise it’s worth the little bit of prep. And when those fluffy rounds come steaming out of the pot, you’ll know exactly why we’re all obsessed. Don’t forget to pair them with sambar, coconut chutney, or that fiery podi, pure magic in every bite.
Tried it out? Tag me on Instagram @my_foodstory, I’d love to see your idli spreads!
Watch Idli Recipe Video
Idli | How to Make Idlis
Equipment
-
1 idli steamer stand
Ingredients
For idli batter
- 1 ½ cups idli rice or parboiled rice
- ½ cup skinned urad dal
- ¼ cup poha or flattened rice
- ¼ cup cooked rice
- 1 teaspoon methi seeds fenugreek seeds
- 1 ½ cups water
- 4-5 ice cubes
For Idlis
- 2 cups idli batter
- ½ teaspoon salt
- 1 teaspoon cooking oil or ghee for greasing
Instructions
For the idli batter
Day 1 – morning
-
Wash and soak idli rice, urad dal, poha and methi seeds in enough water in a way that there is at least an inch of extra water over the rice and dal.
Day 1 – evening
-
Once the grains have soaked for about 8 hours, drain the excess water from the bowl.
-
Grind the idli rice-urad dal mix with cooked rice until almost smooth with approx. 1 ½ cups water and 4-5 ice cubes in a mixer grinder. Add additional water if required. The consistency should be such that it can leave a thick coat on the back of a spoon and falls in a ribbon like consistency when poured with a ladle. The ground batter should feel very slightly gritty between your fingers.
-
Pour the batter into a bowl that’s large enough so that there is room for the batter to rise. Mix the batter with clean hands as shown in the video – this is an important step as it helps in the fermentation so please don’t skip it.
-
Cover the bowl and set aside to ferment. Leave it in a warm, dry place away from direct sunlight to ferment. Fermentation takes anywhere between 12-24 hours depending on the humidity and temperature at your place. The warmer it is, the faster it’ll ferment.
Day 2 – morning or afternoon
-
Once fermented, the batter should have become almost 1.5 times its size with a slight dome shape and a wrinkle, bubbly layer on top. You should be able to smell a little sourness in the batter. This smell means it has fermented. If it is too sour, it has fermented too much! You can use a spoon to check the batter – the texture should be frothy with air bubbles. This will yield approx. 1.75 litres (6-7 cups) of batter.
Making Idlis
-
Take out 2 cups of batter in a bowl, add ½ teaspoon of salt and mix well.
-
Heat water in an idli steamer and bring to a boil. Grease the idli plate with oil or ghee so it’s easier to demould the idlis.
-
Only once the water in the steamer comes to a roaring boil, pour batter into the idli mould and fill them up almost to the top (as shown in the video).
-
Place the idli mould in the steamer and steam on high for 10 minutes till the idlis are cooked. To check doneness, insert a toothpick in the centre of idlis and it should come out clean.
-
Let the idli mould rest in the steamer for 2 minutes, then take it out and let it cool for another 2-3 minutes. Use a spoon or butter knife to demould the idlis from the idli plate.
Video
Notes
- Make sure the batter is well fermented – it should have a light, airy texture and a slightly sour smell- to get soft idlis.
- Batter should be thick, easily pourable and should fall in ribbons without being too runny.
- Salt to be added ONLY to the quantity of batter you are using to avoid the batter getting too sour.
- If you are not using all the batter, store the remaining unsalted batter in an air tight container in the fridge for up to 3 days or freeze the batter for up to a month. Bring the batter to room temperature before steaming idlis.
- Idli moulds should be greased to make it easier to unmould.
- Do not over-steam the idlis as they can become dry & hard.
- After steaming idlis, allow them to cool for a few minutes so they can be demoulded easily.
- Leftover idlis can be stored in an airtight container in the fridge for up to 3 days. Steam them for a couple of minutes before serving to bring back the softness.
- To freeze steamed idlis: once they cool, freeze on a tray before transferring to a ziplock bag. They will stay good for 2-3 months. To reheat, steam directly from frozen for 5-7 minutes.
This article was researched and written by Harita Odedra.
The post Idli Recipe (Detailed tips to make batter + soft idlis every time) appeared first on My Food Story.