

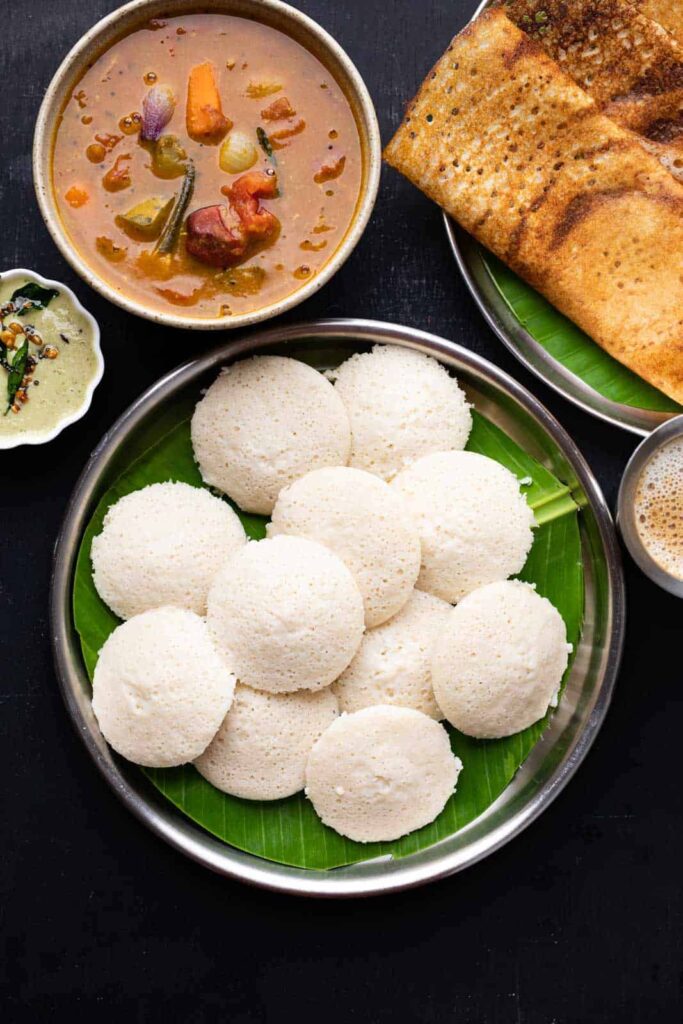
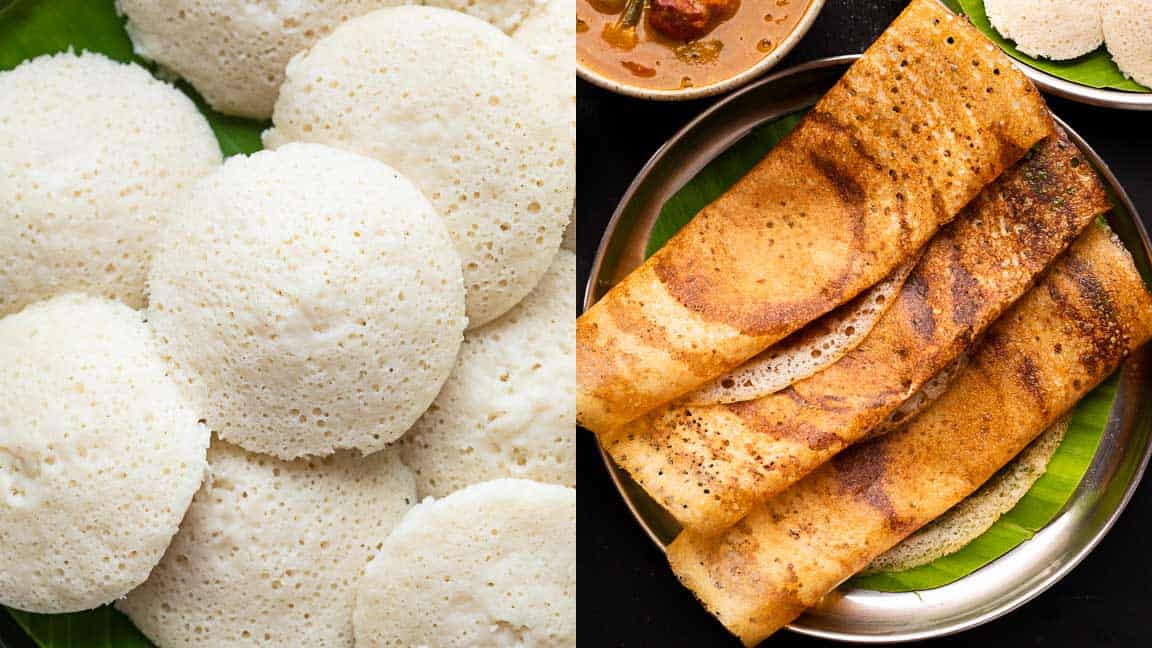
Making idli dosa batter at home is easier than you think! All you need is 10 mins in the morning, and 10 mins in the night for the lightest, fluffiest idli dosa batter!

I get it–why bother with the whole rigmarole when readymade idli dosa batter is so easily available in stores. I was part of this club too, until I moved to Bangalore. Because that’s when I realised that idlis and dosas made from homemade batter taste SO much better!
It might be hard to believe, but making your own idli dosa batter from scratch is insanely easy. Just 20 minutes of active prep time a week, and you’ve got yourself a dosa batter that’s cleaner, cheaper, and gives you the best idlis and dosas and you’ll ever eat!
And did I mention how versatile it can be? You can make so many dishes with the batter (recipes coming soon!) – appe, dhokla, dosa waffles, uttapam etc etc that you can have a different dish everyday for an entire week from just one batch of batter!
Jump to section: Idli Dosa Batter
- Ingredients to Make Idli Dosa Batter
- How to Make Idli Dosa Batter
- How To Tell If The Batter Is Fermented
- Which is The Best Blender to Grind Idli Dosa Batter
- Richa Recommends
- Frequently Asked Questions
- Equipments To Make Idlis & Dosas
- Top Tips to make the best Idlis & Dosas
- Recipes with Idli Dosa Batter
- Watch Idli Dosa Batter Recipe Video
Ingredients to Make Idli Dosa Batter
This Idli Dosa batter recipe calls for simple, pantry-staple ingredients. Here’s everything you’ll need:
- Idli rice: Idli rice is basically parboiled short grained rice, and delivers the best results. But sona masoori, or a kollam variety of (non-parboiled) short-grained rice will work as well
- Urad Dal or Skinned Whole Black Gram: Delivers that creamy, airy texture of the batter. Both skinned whole or skinned split urad dal works here
- Poha or Flattened Rice: It prevents idlis from feeling dense and keeps them light, soft, and fluffy.
- Cooked Rice: For the softest idlis and the crispiest dosas!
- Methi Seeds or Fenugreek Seeds – Aids the fermentation process and adds to the taste too. A little goes a long way
- Ice Cold Water: To prevent the batter from heating up while grinding
Looking for a quick no-fermentation dosa batter? Try Neer Dosa | Lacy Rice Crepes and Instant Oats Dosa (Crispy Oats Crepes)
How to Make Idli Dosa Batter
The process of making idli dosa batter takes about 20 minutes over a day. Yes thats all!! Here’s the timeline that you can follow.
DAY 1 (Morning) – Washing and Soaking
In the morning, you need to wash and soak the rice and lentils. While it’s a pretty straightforward process, here are some tips I find helpful:
- When washing the rice and lentils, rub them between your fingers as you wash, and rinse in clean water 3-4 times till the water starts running almost clean. Doing so helps get rid of dust, impurities, and excess starch from the rice.
- Soak the rice and lentils in clean water. They should be completely submerged and have at least an inch of water over them. Soaking the lentils makes it easy to grind and makes the batter nice and fluffy which is very essential for the texture.

DAY 1 (Evening) – Grinding, Fermenting
In the evening, it’s time to grind the rice and lentils to make the batter. To do so:
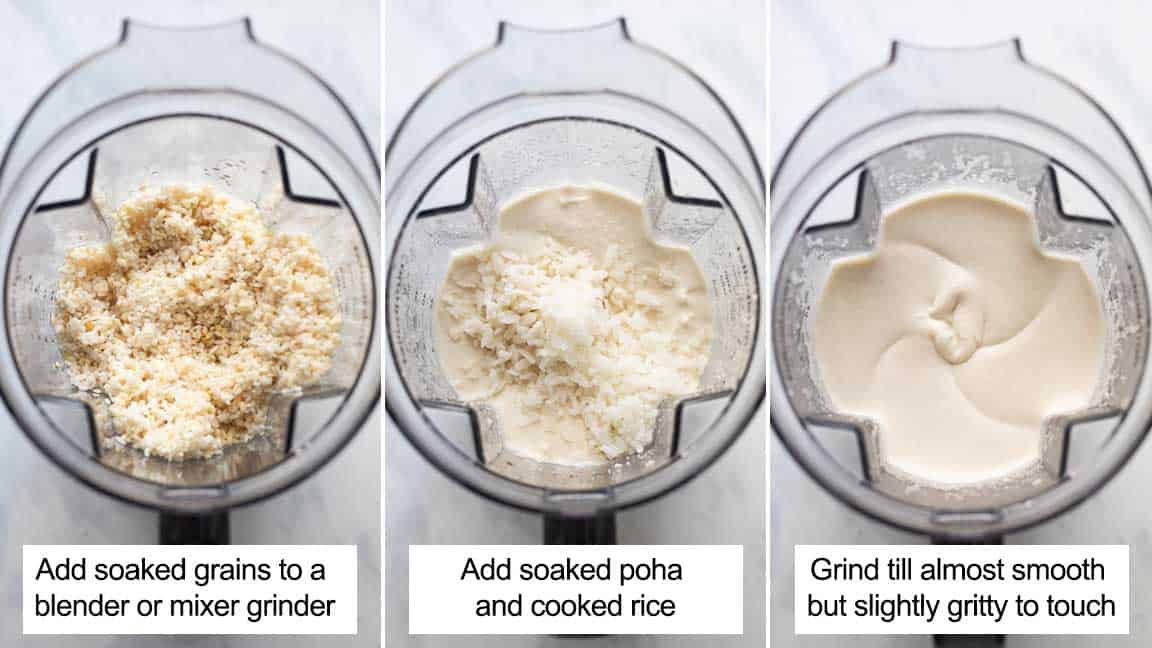
- Drain the excess water, transfer to a mixer jar, and grind. Using a mixer grinder can heat up the batter, which affects the flavour. Use ice cold water to prevent overheating and maintain the desired temperature.
- The consistency should be such that it leaves a thick coat on the back of a spoon and falls in a ribbon like consistency when poured with a ladle. The ground batter should feel very slightly gritty between your fingers.
- Pour the batter into a bowl that’s large enough so that there is room for the batter to rise. Mix the batter with clean hands as shown in the video – this is an important step as it helps in the fermentation so please don’t skip it.
- Cover the bowl and set aside to ferment. Leave it in a warm, dry place away from direct sunlight to ferment. Fermentation takes anywhere between 12-24 hours depending on the humidity and temperature at your place. The warmer it is, the faster it’ll ferment.
DAY 2 (Morning) – Using or Storing
The next morning or after, the batter should have increased by almost 1.5 times, and that’s how you know it’s fermented and ready for use. If you follow the exact measurements of this recipe, you should have approx 1.75 litres (6-7 cups) of idli and dosa batter -1 cup batter makes 6-7 idlis or 4-6 dosas depending on the size.
How To Tell If The Batter Is Fermented
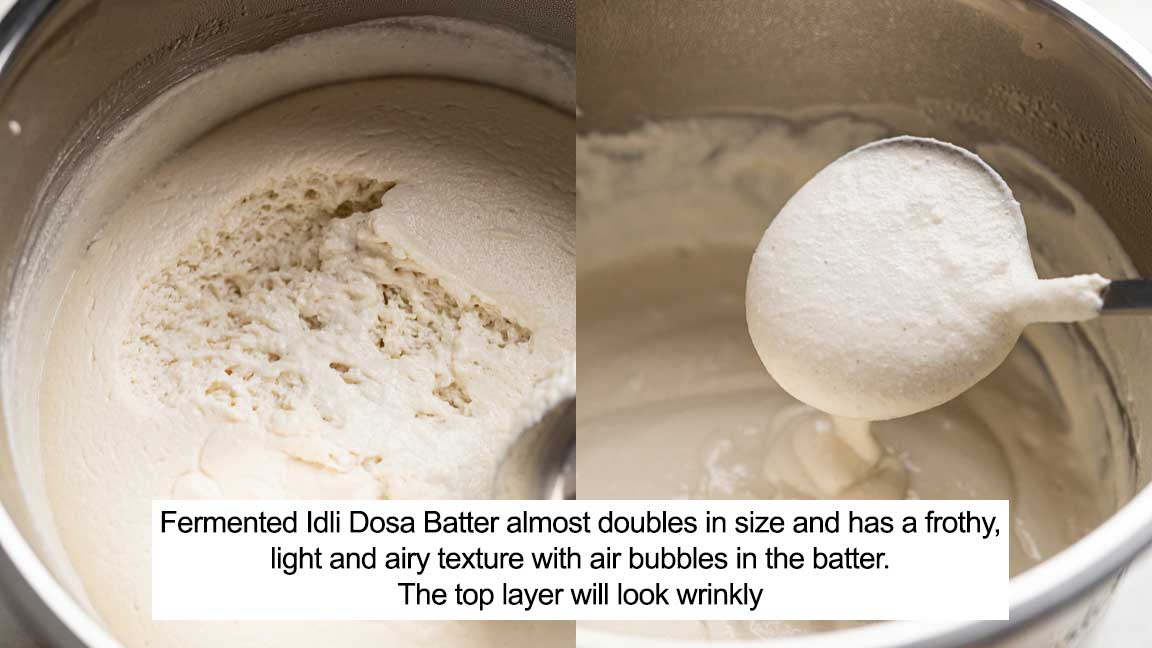
- The batter will expand and almost double in size as it ferments.
- When you mix the batter, you should be able to see tiny air bubbles in the batter (watch the video to see how fermented batter looks). It should look and feel frothy and airy
- The batter should smell mildly yeasty or sour
- If the batter smells very sour or smells bad, then it may have over fermented or gone bad. Unfortunately, there’s no coming back from this, so make sure the batter doesn’t get over fermented!
Which is The Best Blender to Grind Idli Dosa Batter
If you make idlis and dosas frequently, I highly recommend using an electrical wet grinder which produces a light, fluffy batter without heating it up. The disadvantage is that they take up more counter space and are quite big and bulky.
Richa Recommends
I use a blender and mixer grinder at home. In the video I’ve used a Nutribullet but my favourite is the Sujata Dynamix Mixer Grinder. The disadvantage of using a mixer grinder is that it heats up the batter as it grinds, which is not ideal. To keep the batter from heating up, I use ice cold water while grinding.
Frequently Asked Questions
The ideal ratio of idli rice to urad dal is 4:1. I arrived at this ratio after a lot of testing, and have seen results that this ratio makes the softest idlis.
A higher ratio of urad dal will still produce good results, but the idlis tend to get slightly denser. It doesn’t make any noticeable difference to dosas.
Yes absolutely! While some recipes suggest soaking dal and rice separately owing to the fact that the two ingredients require different grinding times. However, this hasn’t been my experience. I soak rice, urad dal, poha, and methi seeds in the same bowl and grind them all together without noticing any change in the texture.
If you live in a cold country, here’s a hack to ensure your batter ferments. The trick is to warm up the oven to 80 – 90 degree C, turn it off, cover and place the batter inside the oven overnight. The idea is to keep it warm and snug so it ferments.
While idli and dosa batter share the same core ingredients (rice and urad dal), they are not the same. The primary difference lies in the consistency of the ingredients. Dosa batter is typically thinner and more spreadable, while idli batter is thicker and scoopable.
Equipments To Make Idlis & Dosas
For Idlis: You can make idlis in an idli stand in a regular Idli steamer. Alternatively, you can also place the idli stand inside a pressure cooker without using the whistle. If you don’t have an Idli stand – no worries! You can make idlis in greased steel tumblers that can withstand high heat!
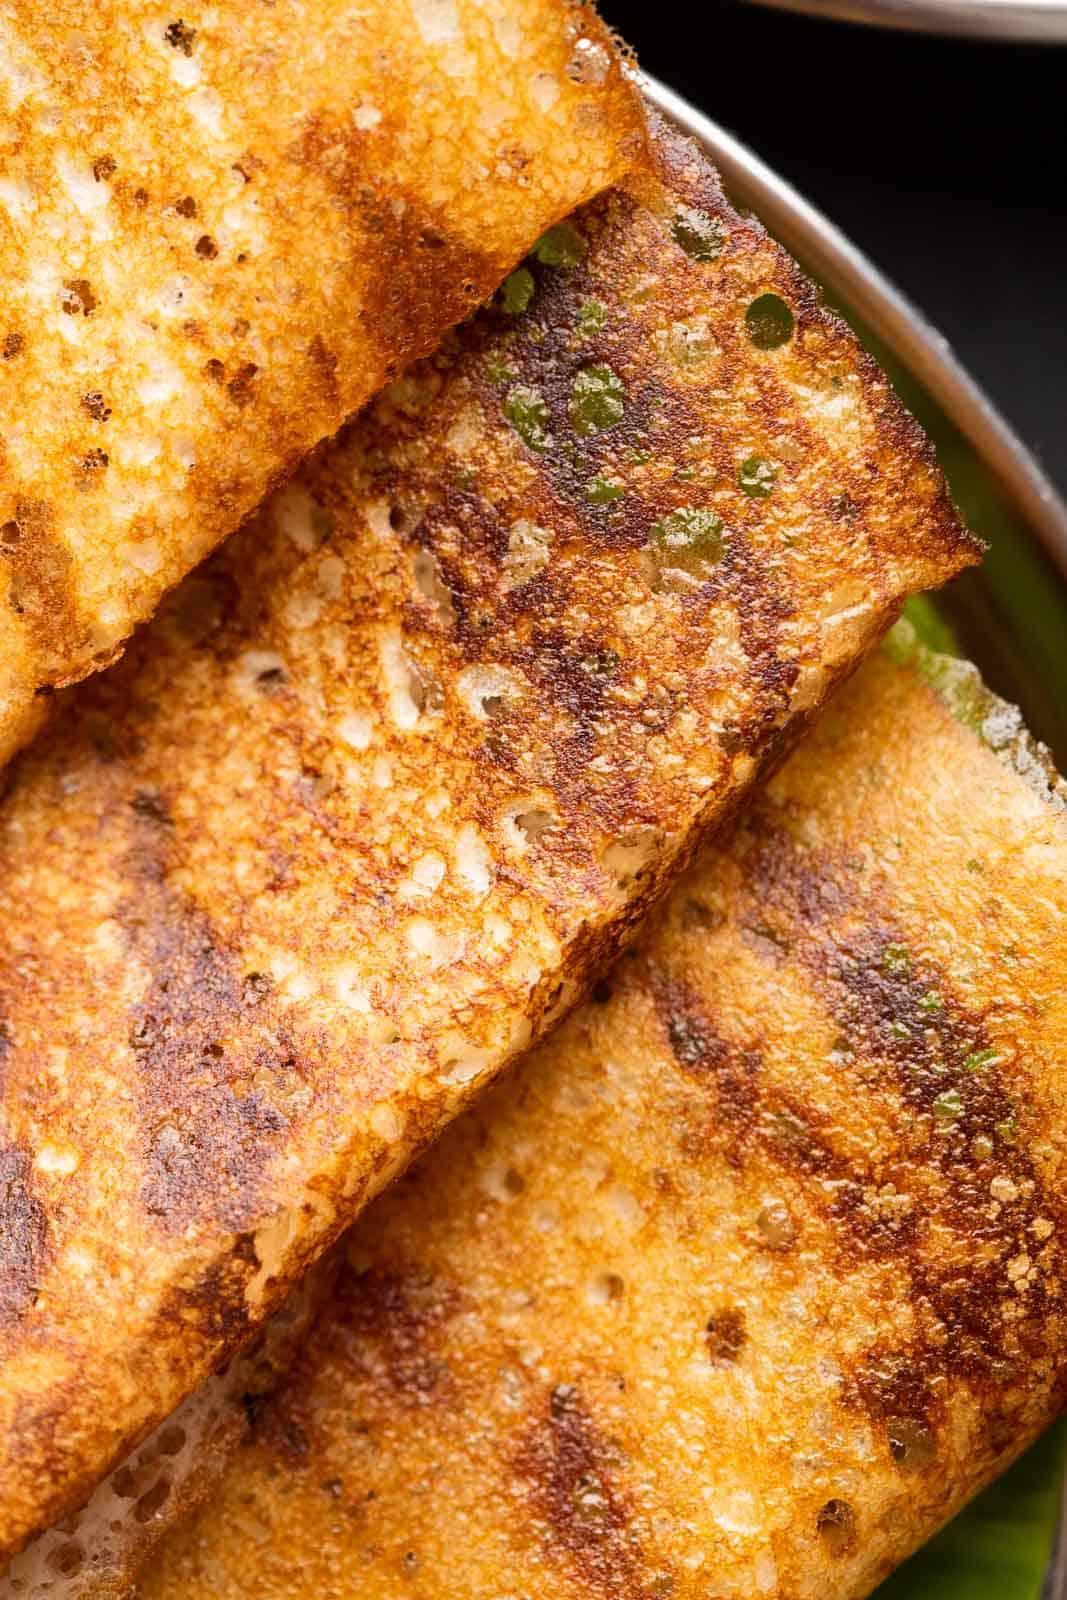
For Dosas: A well-seasoned cast iron tawa or pan is the best for making dosas. A cast iron tawa will last you a lifetime, but keep it exclusively for making dosas and uttapams. A non-stick tawa is an easier alternative. I prefer the cast iron tawa because it heats up evenly, it stays hot for longer and the dosas come out extra crispy. Non-stick pans tend to overheat faster and spreading the dosas can become difficult after a while.
Top Tips to make the best Idlis & Dosas
- Avoid over fermentation: Make sure the batter is not left out at room temperature for too long, or it may over ferment. The optimal time in tropical weather like India is 10-12 hours, but in colder places it can take up to 24 hours.
- Season the batter: Always season the batter before using. Season the dosa batter with salt and sugar. Season idli batter with salt and you are good to go!
- Test Dosa: Make a test dosa before making the rest of the dosas. Spread the batter thin for crispy dosas, and thick for soft and fluffy dosas!
- Grease: Grease the Idli stand or steel tumblers with ghee or oil before pouring the batter into it, or they will stick to the edges and crumble when you demould them.
- Removing Idlis: Once the idlis have steamed, take the mould out of the mould and let it rest for 5-10 minutes before demoulding. The resting time prevents the idlis from sticking to the mould.
- Use a large vessel: Always use a large vessel to ferment idli dosa batter which should be double the capacity of the batter so that there’s enough room for the batter to rise.
- Cooked rice caution: If you live in a warm place, cooked rice can make the batter go bad faster. So make sure to use it up within 3 days.
Recipes with Idli Dosa Batter
- Dhokla
- Idli
- Dosa
- Appe / Paniyaram
- Mysore Masala
- Uttapam
- Dosa Waffle
- Schezwan Idli Fry
I am going to share the recipes of all these dishes along with an easy one-pot sambar and coconut chutney over the next 11 days. So make sure to tune in!
The first time I made idli and dosa batter from scratch at home, my mind was blown with how simple and hassle-free the whole process is. And since then, I have been making my own dosa batter at home every week for 6 years. It’s easy, it’s clean, and yields the best dosas and idlis in my opinion.
If you make this idli dosa batter at home, be sure to upload it to your stories and tag me @my_foodstory. I would love to see your recreations.
Watch Idli Dosa Batter Recipe Video
Idli Dosa Batter | How to Make Dosa Batter
Ingredients
For grinding
- 1 ½ cups idli rice or parboiled rice
- ½ cup skinned urad dal
- ¼ cup poha or flattened rice
- ¼ cup cooked rice
- 1 teaspoon methi seeds fenugreek seeds
- 1 ½ cups water
- 4-5 ice cubes
Other
- 1 ½ teaspoon salt divided
Instructions
Day 1 – Morning
-
Wash and soak idli rice, urad dal, poha and methi seeds in enough water in a way that there is at least an inch of extra water over the rice and dal.1 ½ cups idli rice or parboiled rice, ½ cup skinned urad dal, ¼ cup poha, 1 teaspoon methi seeds
Day 1 – Evening
-
Once the grains have soaked for about 8 hours, drain the excess water from both the bowls.
-
Grind the idli rice-urad dal mix along with the cooked rice till almost smooth with approx. 1 ½ cups water and 4-5 ice cubes in a mixer grinder. Add additional water if required. The consistency should be such that it can leave a thick coat on the back of a spoon and falls in a ribbon like consistency when poured with a ladle. The ground batter should feel very slightly gritty between your fingers.¼ cup cooked rice, 1 ½ cups water, 4-5 ice cubes
-
Pour the batter into a bowl that’s large enough so that there is room for the batter to rise. Mix the batter with clean hands as shown in the video – this is an important step as it helps in the fermentation so please don’t skip it.
-
Cover the bowl and set aside to ferment. Leave it in a warm, dry place away from direct sunlight to ferment. Fermentation takes anywhere between 12-24 hours depending on the humidity and temperature at your place. The warmer it is, the faster it’ll ferment.
Day 2 – Morning or Afternoon
-
Once fermented, the batter should have become almost 1.5 times its size with a slight dome shape and a wrinkle, bubbly layer on top. You should be able to smell a little sourness in the batter. This smell means it has fermented. If it is too sour, it has fermented too much! You can use a spoon to check the batter – the texture should be frothy with air bubbles.
-
Take out 2 cups of batter in a bowl, add ½ teaspoon of salt and use it to make idlis, dosa etc.1 ½ teaspoon salt
Video
Notes
- Ice cubes are added to avoid the batter from getting too hot while grinding.
- Salt to be added ONLY to the quantity of batter you are using to avoid the batter getting too sour.
- If you are not using all of the batter, store the remaining unsalted batter in an air tight container in the fridge for up to 3 days or freeze the batter for up to a month.
This article was researched and written by Urvi Dalal.
The post Idli Dosa Batter | How To Make Dosa Batter appeared first on My Food Story.